Steps | Actions | Photos |
Sand the window opening | Using the special sanding block, Etch the exterior surface on the straight sides of the opening no further than 8mm from the window opening.On corners use a small piece of 80 grit sand paper to etch them (less than 5mm) | 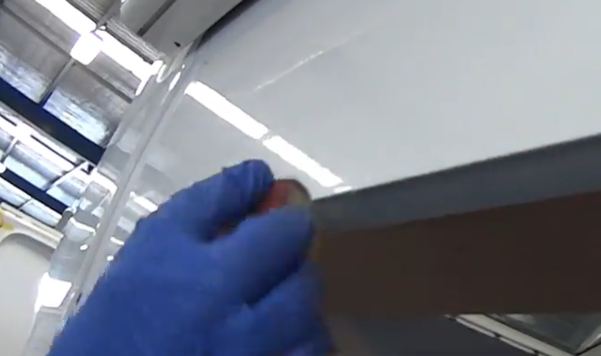
|
Fit small aluminium squares | Tap the small aluminium squares into the corners hard up against the interior skin. This will give the screws for the inner frame something to bite into. | 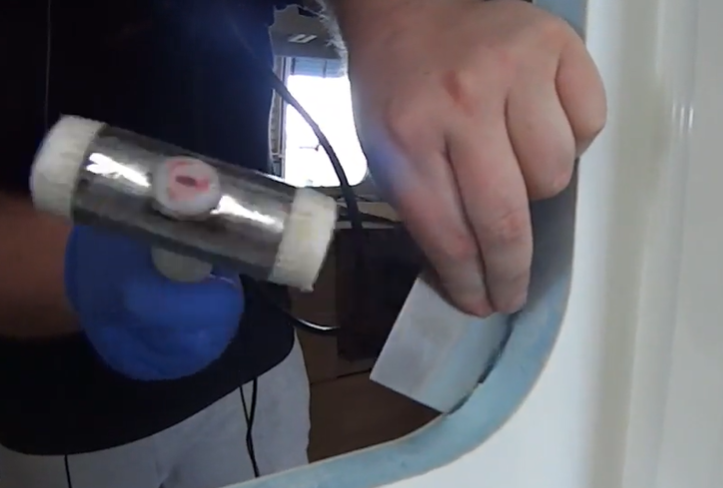
|
Inspect the window | On a clean work surface, dust down the window with an air gun. Then using a new clean rag, inspect the window for any damage or imperfections. | 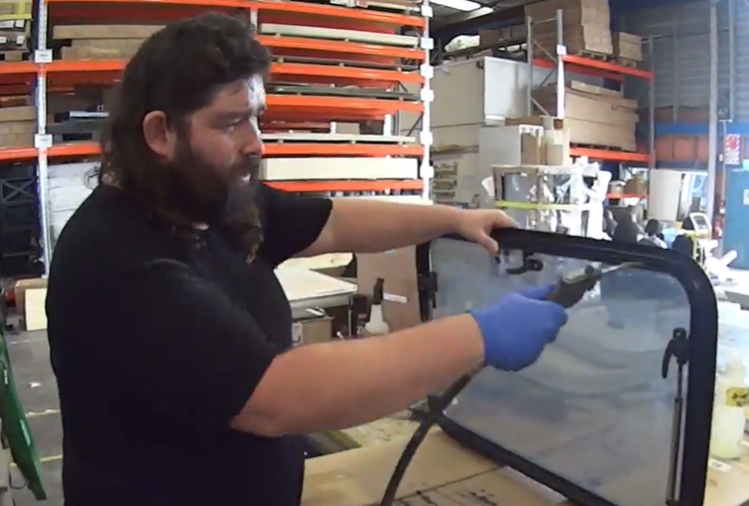
|
Sand the window lip | With a piece of 80-grit sandpaper, sand the back of the window frame lip ensuring you've etched it well. Then wipe down the outer edge with a clean rag and a light spray of water to remove all the dust. | 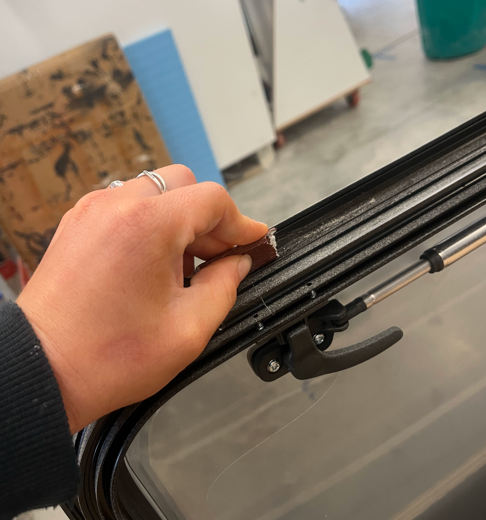
|
dust off the window opening | Apply a light spray of water to a clean rag and wipe away any dust from the opening edges. | 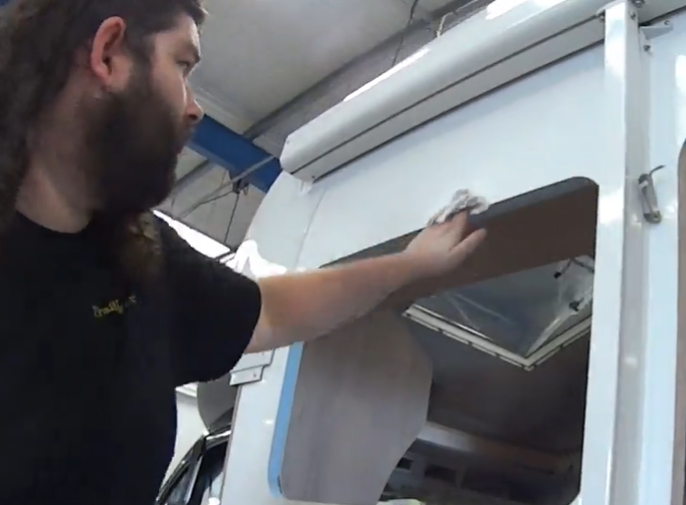
|
Applying sealant | Apply a bead 8mm or larger of the Black Sabre MS Facade around the entire exterior lip of the window. Ensure there are no gaps in your sealant. | 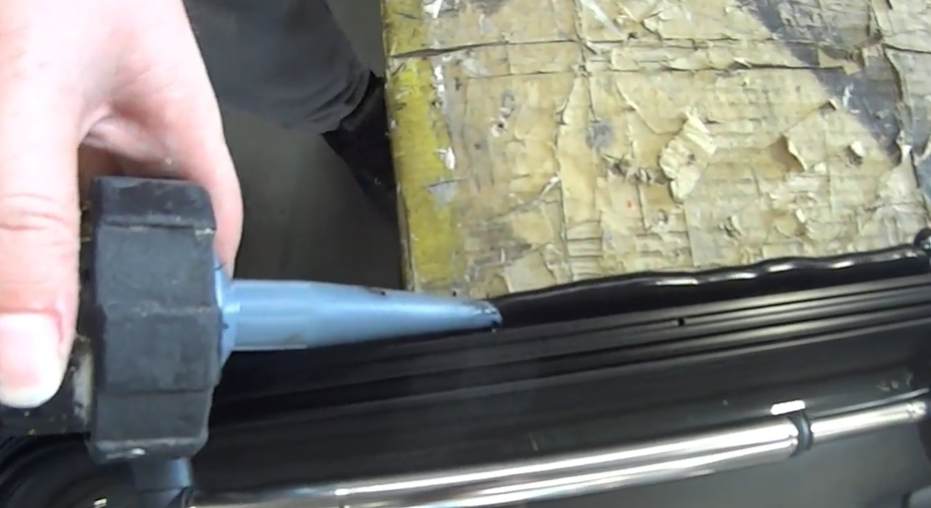
|
Place the window in the opening | Place the window into the opening and press it in firmly. Ensure sealant has oozed out from all edges. If not, you'll have to remove it and re-apply more sealant. DO NOT BACKFILL! | 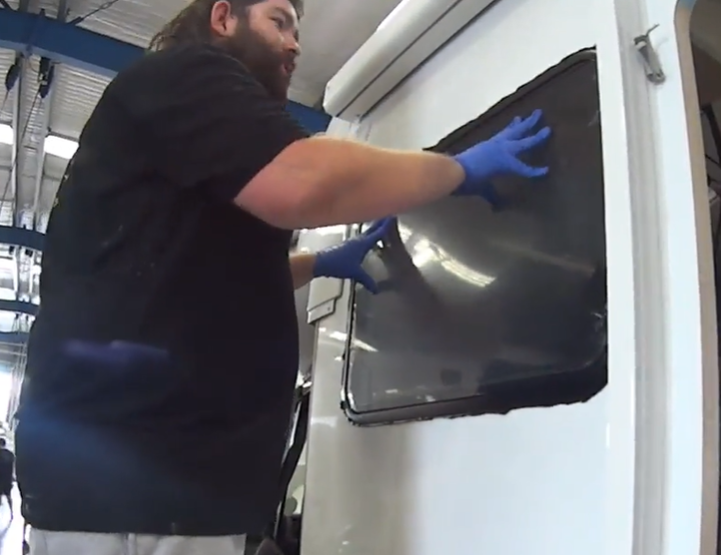
|
Screwing in the window clips | Using a Ryobi cordless drill, set the torque setting to 12 and the speed to low or 1. Then using the clips and screws, fit one clip on each side of the window frame into the location holes. Then go ahead and fit all the remaining clips (make sure you measure parallel from the closest furniture). | 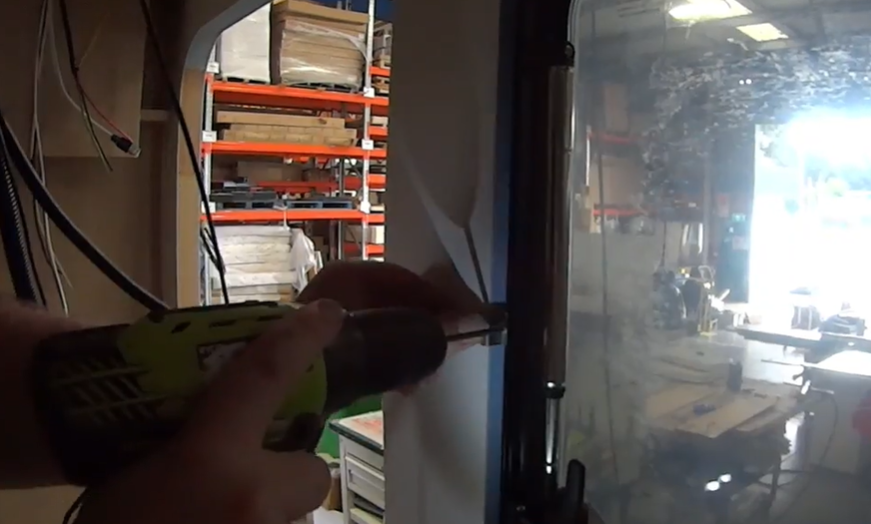
|
Scraping excess sealant away | Spray a decent amount of soapy water onto the excess sealant. Then, scrape all the excess sealant away using an acrylic scraper or wooden wedge. You may need to scrape areas multiple times to get a clean line around the window edge.Ensure your scraper has no sharp or rough edges or you may scratch the exterior surface of the wall. | 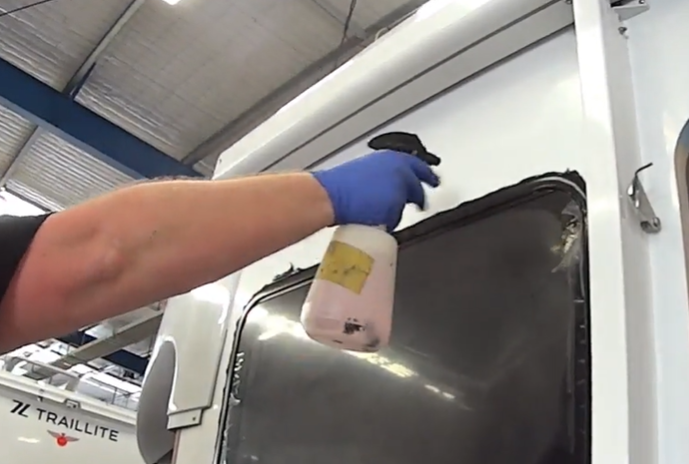
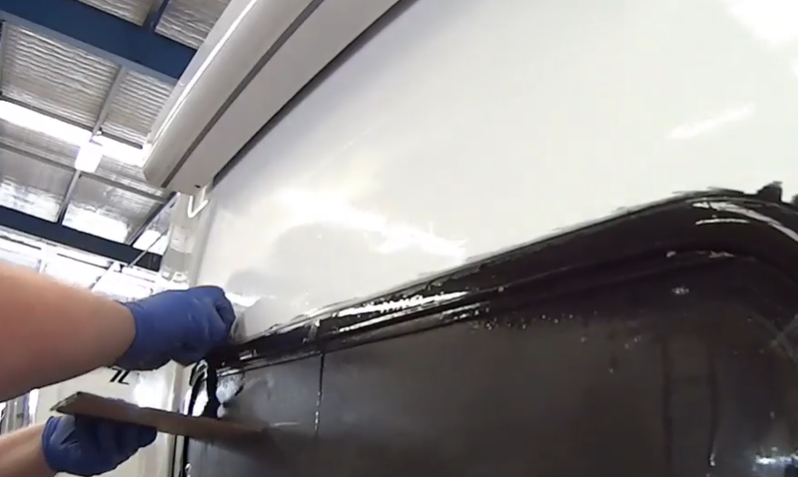
|
Clean residue off | Apply a light amount of Sika® Remover-208 to a rag only and wipe away any remaining sealant or residue from the wall and window edge.Never spray chemicals directly onto the wall or window as there's a chance it could cause the acrylic window pane to crack!ALSOTAKE EXTREME care to prevent chemical contaminated rags from coming into contact with the window blade - It cannot be stressed enough how easy it is for Acrylic to be compromised by even minimal contact with an inappropriate chemical | 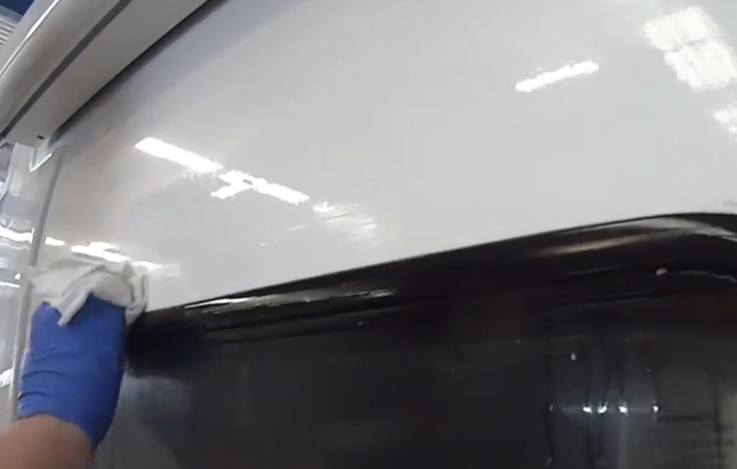
|
